Blog de WeddingAI.video
AI Wedding Video Production Flow: From Photos to Final Film
Follow the complete AI wedding video production flow from photo upload to final export. Step-by-step guide to creating your wedding film with AI in 2026.
11 minutos de lectura
You've decided to create your wedding video with AI. Smart choice. But you might be wondering: what actually happens between uploading your photos and downloading your finished video? What does the process look like behind the scenes? And how can you make sure the final result matches your vision?
This guide walks you through the complete AI wedding video production flow — every step from start to finish. Whether you're a complete beginner or just want to understand the technology better, you'll know exactly what to expect.
Phase 1: Pre-Production (Before You Upload)
Good preparation makes a huge difference in the quality of your final video. Before you even open the AI tool, spend some time getting organized.
Gather Your Source Material
Your AI wedding video will only be as good as the content you feed it. Collect everything you have:
**Photos:**
- Professional photographer images (get the full-resolution files)
- Guest photos from shared albums
- Phone selfies and candid shots
- Detail shots (rings, flowers, venue, food)
**Video clips:**
- Any footage from your photographer
- Guest phone recordings
- Selfie videos
- Drone footage (if available)
**Audio:**
- Voice recordings (vows, speeches)
- Music preferences
- Any special audio you want included
For a complete list of recommended content, see our wedding video photo checklist.
Curate and Organize
This is the most important pre-production step. Don't just dump everything into the AI — curate your content for the best results.
**For photos:** Select 30-50 of your best images. Quality over quantity. Choose photos that:
- Are well-lit and in focus
- Show different moments and settings
- Include a mix of wide, medium, and close-up shots
- Capture genuine emotions
- Represent the full arc of your day
**For video clips:** Review all available footage and:
- Flag the best clips (clear, stable, good audio)
- Note the duration of each clip
- Identify any special moments captured
- Note which clips need stabilization or enhancement
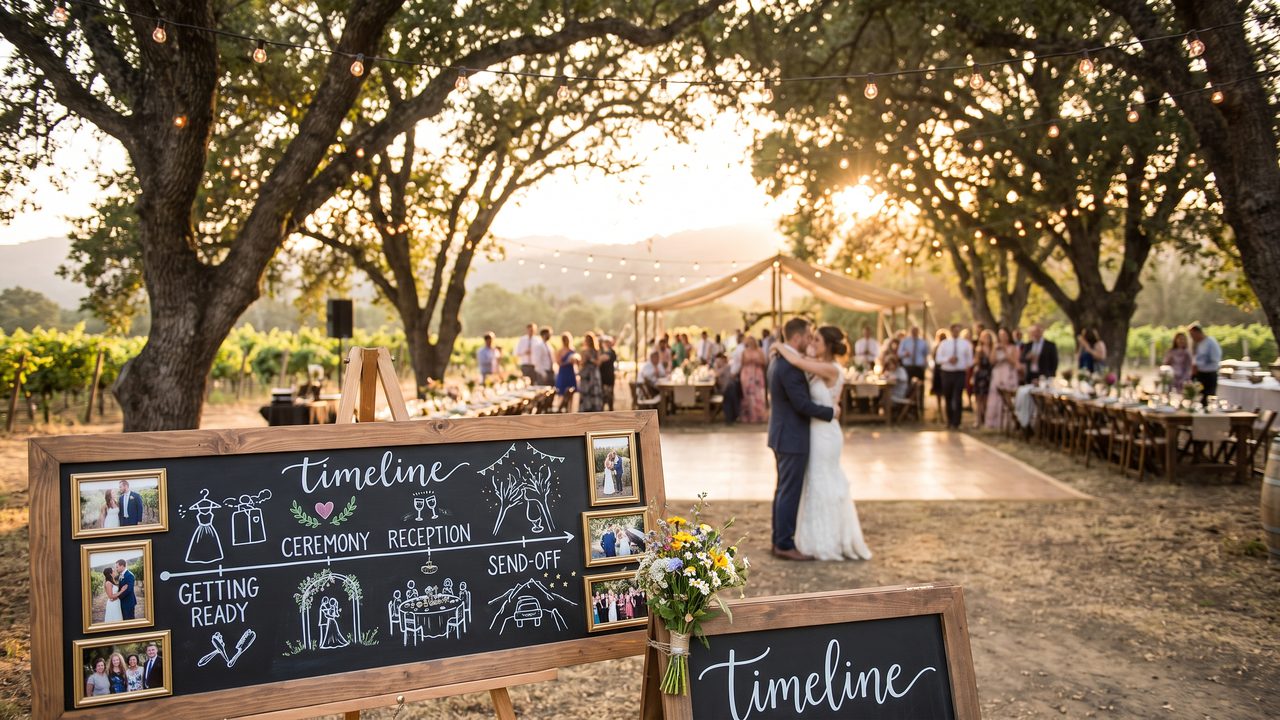
**Organize chronologically:**
- Getting ready
- Pre-ceremony
- Ceremony
- Post-ceremony portraits
- Cocktail hour
- Reception entrance
- Speeches and toasts
- First dance
- Open dancing
- Special moments (cake cutting, bouquet toss, etc.)
- Send-off
Define Your Vision
Before you start, think about what you want the final video to feel like:
- **Length:** Short and punchy (2-3 minutes) or comprehensive (5-10 minutes)?
- **Style:** Cinematic, romantic, modern, vintage, fun?
- **Music:** Upbeat, emotional, acoustic, orchestral?
- **Story:** What narrative do you want to tell?
- **Audience:** Who will watch this? Just you, family, or social media?
Having a clear vision helps you make better decisions throughout the process.
Phase 2: Upload and Initial Setup
Now the fun begins. Here's what happens when you start working with the AI:
Upload Your Content
Most AI video platforms support multiple upload methods:
- **Direct upload** from your computer (drag and drop or file browser)
- **Cloud import** from Google Photos, iCloud, Dropbox, or OneDrive
- **Mobile upload** directly from your phone's camera roll
- **Shared album links** for collaborative uploads
Upload your curated photos and video clips. The platform will typically show you thumbnails of everything you've uploaded so you can verify the content.
**Pro tip:** Upload the highest resolution versions available. The AI works better with more detail, and higher resolution gives you more flexibility for zooming and cropping without quality loss.
Select Your Template or Style
Most platforms offer preset styles that define the overall look and feel of your video:
- **Cinematic:** Warm, film-like colors with smooth transitions and deliberate pacing
- **Romantic:** Soft, dreamy aesthetic with gentle transitions and emotional pacing
- **Modern:** Clean, contemporary look with crisp transitions and dynamic pacing
- **Vintage:** Film grain, warm tones, and nostalgic effects
- **Fun/Energetic:** Bright colors, fast cuts, upbeat feel
Your style choice affects color grading, transitions, pacing, and overall mood. Don't worry — you can change it later if it doesn't feel right.
Our WeddingAI Video Guide provides detailed descriptions and examples of each style.
Set Your Preferences
Configure your basic settings:
- **Video length** (target duration)
- **Aspect ratio** (16:9 for standard, 9:16 for vertical/social, 1:1 for square)
- **Resolution** (720p, 1080p, or 4K)
- **Music selection** (choose from library or upload your own)
- **Text overlays** (names, date, location)
Phase 3: AI Processing (The Magic Happens)
Once you've set your preferences, the AI goes to work. Here's what happens behind the scenes:
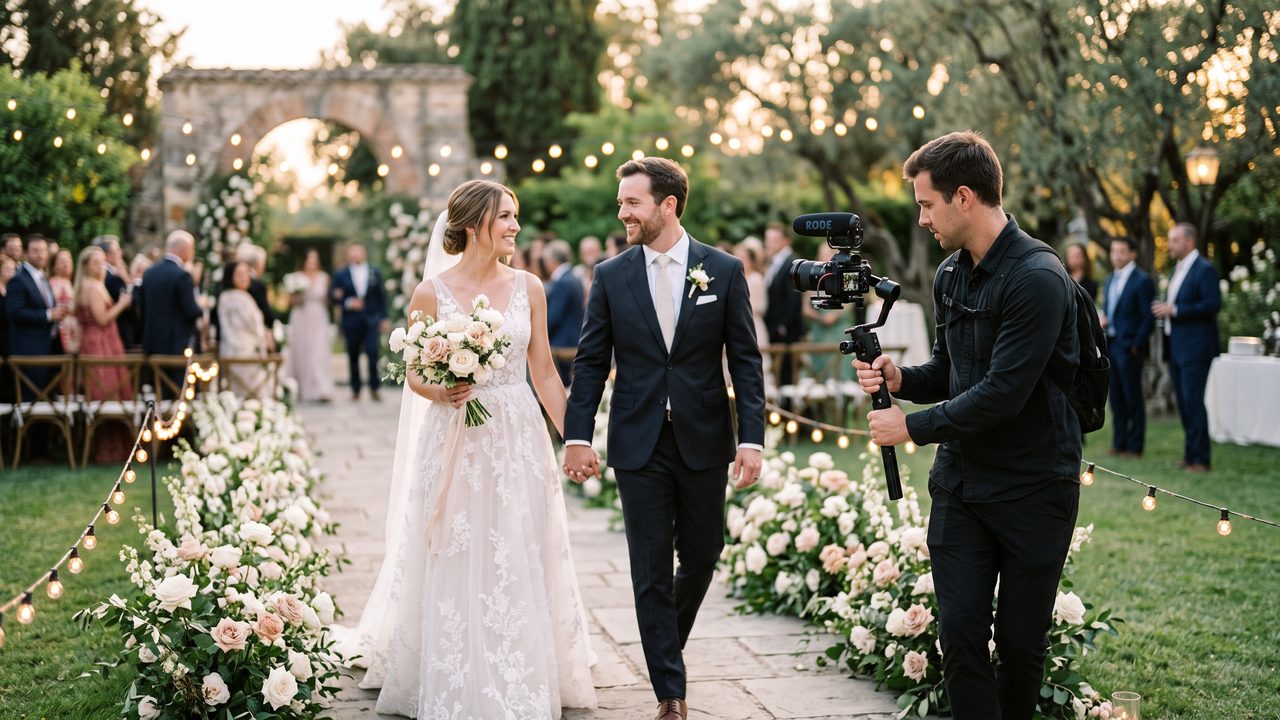
Step 1: Content Analysis
The AI examines every photo and video clip you uploaded:
- **Face detection:** Identifies people, their expressions, and emotional state
- **Scene recognition:** Categorizes each piece of content (ceremony, reception, portraits, etc.)
- **Quality assessment:** Rates each image/clip for technical quality
- **Emotional scoring:** Identifies the most emotionally impactful moments
- **Motion potential:** Determines which photos can be animated and how
This analysis typically takes 1-3 minutes.
Step 2: Narrative Construction
Using the analysis results, the AI constructs a narrative structure:
- **Identifies key story beats:** Opening, build-up, climax, celebration, resolution
- **Orders content:** Arranges photos and clips for maximum narrative impact
- **Balances pacing:** Alternates between fast and slow sections
- **Creates emotional arc:** Builds to key moments and provides resolution
Step 3: Photo Animation
For still photos, the AI generates motion:
- **Environmental animation:** Subtle movement of hair, fabric, water, clouds
- **Camera movement:** Slow pans, zooms, and tilts
- **Parallax effects:** Creating depth and dimension
- **Transition animation:** Smooth movement between photo sections
Each photo is individually processed to create natural, tasteful animation. The AI avoids over-the-top effects that would look artificial.
Step 4: Video Enhancement
For video clips, the AI applies:
- **Stabilization:** Removing camera shake
- **Color correction:** Matching colors across all clips
- **Exposure adjustment:** Fixing over/underexposed footage
- **Audio enhancement:** Cleaning up background noise
- **Speed adjustment:** Creating slow-motion effects where appropriate
Our AI Slow Motion service can create stunning slow-motion effects from standard footage during this phase.
Step 5: Assembly and Editing
The AI assembles everything into a cohesive video:
- **Cutting and trimming:** Selecting the best portions of each clip
- **Transitions:** Applying smooth transitions between scenes
- **Music synchronization:** Matching cuts to the beat
- **Text and overlays:** Adding names, dates, and other text elements
- **Effects application:** Applying chosen visual effects and color grading
Step 6: Rendering
The final step is rendering — converting the edited project into a video file:
- **Quality check:** The AI reviews the final output for issues
- **Format generation:** Creating the video file in your chosen format and resolution
- **Platform optimization:** Generating versions optimized for different platforms (if requested)
The entire processing phase typically takes 10-45 minutes, depending on the amount of content and the complexity of the output.
Phase 4: Review and Refine
Your first draft is ready. Now it's time to review and make it perfect.
Watch the Preview
Watch the entire video from start to finish. Pay attention to:
- **Overall flow:** Does the story make sense? Does it feel cohesive?
- **Pacing:** Are there sections that feel too fast or too slow?
- **Emotional impact:** Does it hit the right emotional notes?
- **Music fit:** Does the music match the mood?
- **Technical quality:** Are there any glitches, awkward cuts, or quality issues?
Make Adjustments
Most platforms offer easy-to-use refinement tools:
**Scene arrangement:** Drag and drop to reorder scenes. This is useful if the AI's narrative order doesn't quite match your vision.
**Pacing control:** Adjust the speed of individual scenes or the overall video. Slow down emotional moments; speed up less important sections.
**Music changes:** Swap the music track if it doesn't fit. Most platforms offer libraries organized by mood and genre.
**Text editing:** Update names, dates, or add new text overlays.
**Effect adjustment:** Toggle effects on/off or adjust their intensity.
**Color grading:** Fine-tune the color look if the AI's default doesn't match your preference.
Regenerate if Needed
If the first draft misses the mark significantly, most platforms let you regenerate with different settings:
- Try a different style
- Adjust the emphasis (more ceremony, less reception, etc.)
- Change the music to shift the mood
- Add or remove content
Don't be afraid to regenerate. The AI learns from your preferences and typically produces better results on the second or third try.
Phase 5: Final Export
Once you're happy with the result, it's time to export your finished video.
Choose Your Format
Select the appropriate format for your primary use:
- **Full resolution (1080p or 4K):** For archiving and sharing on large screens
- **Social media optimized:** Smaller file size, platform-specific dimensions
- **Multiple formats:** Export several versions for different uses
Download and Backup
Download your video files and create backups:
- Save to your computer
- Upload to cloud storage
- Share with your partner for safekeeping
- Consider an external hard drive for long-term archival
Share Your Video
Your video is ready to share with the world:
- **Social media:** Upload trailers and highlights to Instagram, TikTok, Facebook
- **Family:** Share full videos via email, messaging apps, or shared albums
- **Wedding website:** Embed the video on your wedding website
- **Reception:** Play the video at anniversary celebrations
For tips on creating social-media-ready versions, see our guide on making wedding trailers.
Adding Extra Touches
Once you have your base video, consider adding these AI-powered enhancements:
Family Tribute Section
Add a compilation of messages from family members who couldn't attend. Our Family Tribute service creates beautiful tributes that integrate seamlessly with your wedding video.
Celebrity Message
Include a personalized message from a celebrity your partner admires. Our Celebrity Message service creates unforgettable surprise moments.
Multilingual Subtitles
Make your video accessible to international family members with subtitles in 50+ languages. Multilingual Videos →
Pet Cameos
Create adorable pet-focused content featuring your furry family members. Pet Wedding →
Meme and Fun Content
Generate shareable, humorous clips for social media. Wedding Memes →
Tips for a Smooth Production Flow
- **Start early.** Don't wait until the week before the wedding to think about video. Gather content as early as possible.
- **Designate content collectors.** Ask specific guests to capture specific moments. This ensures comprehensive coverage.
- **Back up everything.** Make multiple copies of all photos and footage before uploading.
- **Communicate your vision.** If the platform allows notes or descriptions, tell the AI what matters most to you.
- **Be patient with the first draft.** AI-generated first drafts are good but rarely perfect. Plan time for at least one round of refinement.
- **Export multiple versions.** Create a full-length version for family and a short trailer for social media.
- **Keep your source material.** Don't delete your original photos and footage after creating the video. You may want to create additional content later.
The End Result: Your Wedding Film
After going through this production flow, you'll have a professional-quality wedding video that captures the emotion, beauty, and joy of your wedding day. It's a film you'll watch on anniversaries, share with family, and treasure for the rest of your life.
And the best part? You created it yourself — no editing skills required, no expensive software, and no weeks of waiting for a professional editor. AI handled the heavy lifting while you maintained creative control.
Start Your Production Flow Today
Ready to turn your wedding photos and footage into a cinematic film? The production flow is simple, the tools are powerful, and the results are stunning.
**Begin your AI wedding video →** and follow the flow from upload to final film.
¿Listo para transformar los recuerdos de su boda?
Cuéntanos tu proyecto y te responderemos en 24 horas con un presupuesto gratuito.
Obtenga una cotización gratuita →