
WeddingAI.video 博客
How to Make a Wedding Video: Complete Step-by-Step Tutorial for 2025
Learn how to make a wedding video step by step. From gathering photos to adding music and effects, this complete tutorial covers everything you need.
10 分钟阅读
*Reading time: 11–12 minutes*
Your wedding day flew by in a blur of laughter, tears, and joy. Now you have a phone full of photos, a camera full of footage, and a heart full of memories. But how do you turn all of that into a beautiful wedding video you'll treasure forever?
Whether you're a complete beginner or someone with a bit of creative experience, this step-by-step tutorial will walk you through everything you need to know about making a wedding video — from planning and gathering materials to editing and sharing the final product.
The good news? You don't need expensive equipment, professional software, or years of experience. With the right approach and the right tools (including AI-powered options), anyone can create a stunning wedding video.
Let's get started.
---
Step 1: Plan Your Video Before You Start
Decide on Your Video Type
Before you touch a single photo or video clip, decide what kind of wedding video you want to create:

- **Highlight reel** (2–5 minutes) — A cinematic montage of your best moments set to music. Perfect for social media and quick sharing. This is the most popular format and the easiest to create.
- **Feature film** (15–60 minutes) — A comprehensive documentary-style video covering the entire day, including speeches, ceremonies, and candid moments.
- **Same-day edit** (3–5 minutes) — A quick video shown at the reception, created from photos and clips taken earlier that day.
- **Thank-you video** (1–2 minutes) — A short video sent to guests after the wedding, expressing gratitude.
- **Wedding trailer** (1–2 minutes) — A teaser-style video that builds excitement, like a movie trailer for your wedding.
For most couples, a highlight reel is the perfect starting point. It's manageable in scope, shareable in length, and endlessly rewatchable. If you want something more elaborate, you can always create multiple videos for different purposes.
Gather Your Materials
You'll need:
- **Photos** — 30–80 of your best wedding photos (more on selection in Step 2)
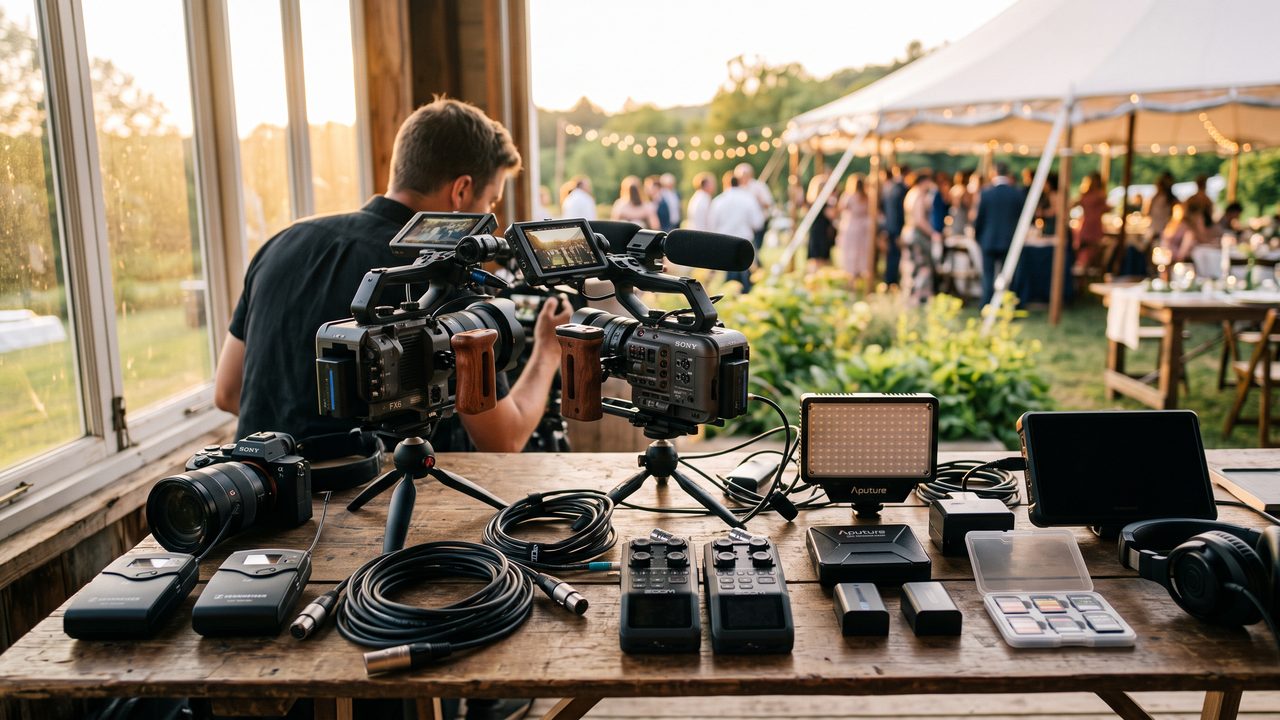
- **Video clips** (optional) — Raw footage from your videographer, phone recordings, or drone footage
- **Music** — 1–3 songs that capture the mood of your wedding (we'll cover music selection in detail below)
- **Text** — Names, dates, vows, quotes, or any text you want to include
Choose Your Tool
Your choice of tool will significantly impact the ease and quality of your final video:
- **AI-powered platforms** (like WeddingAI Video) — Fastest and easiest. Upload photos, choose a style, and get a professional video in minutes.
- **Mobile apps** — Apps like CapCut, InShot, or iMovie offer decent editing on your phone with moderate learning curves.
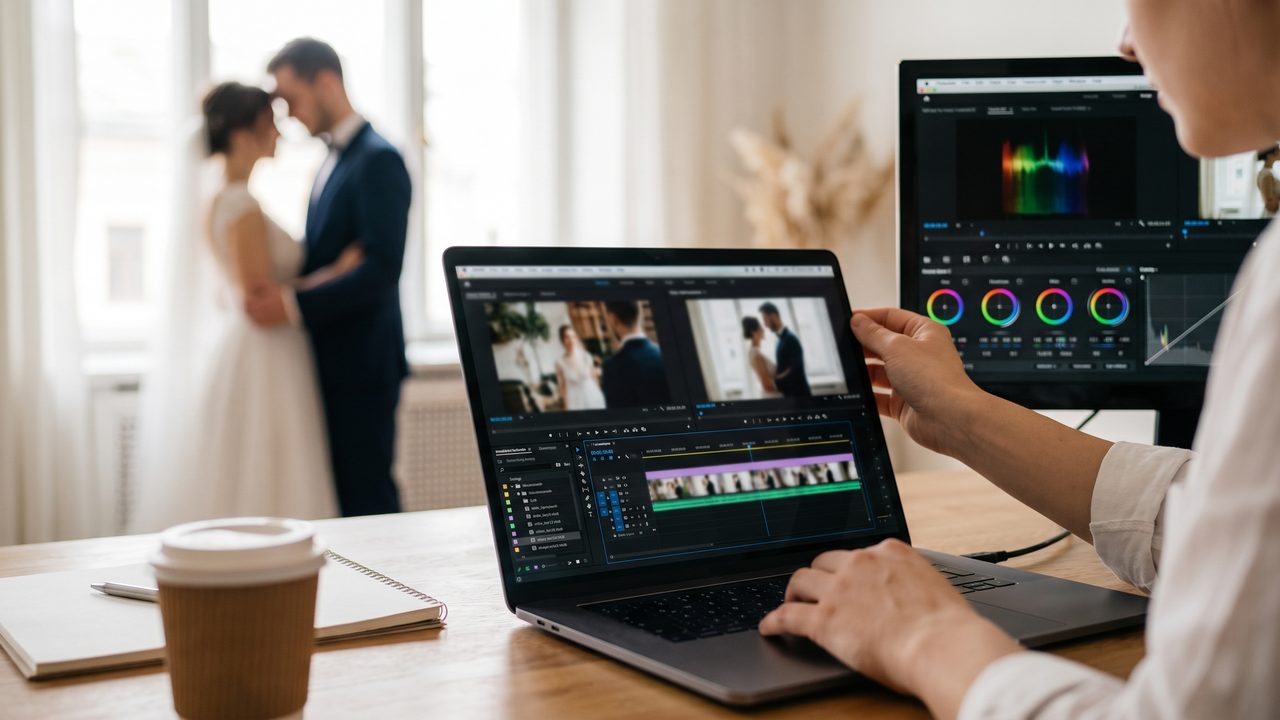
- **Desktop software** — Adobe Premiere Pro, Final Cut Pro, or DaVinci Resolve offer maximum control but require significant time and skill.
For this tutorial, we'll cover the process for all approaches, with a focus on making it accessible for beginners.
---
Step 2: Select and Organize Your Photos
How Many Photos Do You Need?
The ideal number depends on your target video length:
| Video Length | Recommended Photos |
|-------------|-------------------|
| 1 minute | 15–25 photos |
| 2 minutes | 30–50 photos |
| 3–5 minutes | 50–80 photos |
| 5+ minutes | 80–150 photos |
A good rule of thumb: each photo appears on screen for approximately 3–4 seconds when synced to music at a natural pace.
Which Photos Work Best?
Not all photos are created equal when it comes to video. Here's what to prioritize:
**High-resolution images** — Blurry or pixelated photos will look even worse in video. Aim for images that are at least 1920×1080 pixels.
**Variety of shots** — Include a mix of:
- Wide shots (venue, landscape, group photos)
- Medium shots (couple portraits, ceremony moments)
- Close-ups (rings, flowers, expressions, details)
- Candid moments (laughter, tears, dance floor)
**Emotional range** — The best wedding videos tell an emotional story. Include photos that capture:
- Anticipation (getting ready)
- Joy (ceremony, first kiss)
- Tenderness (first dance, quiet moments)
- Celebration (reception, dancing, toasts)
**Horizontal orientation** — Video screens are horizontal. While vertical photos can work, horizontal photos generally look better. If you have important vertical photos, consider using them with a blurred background fill.
For a detailed checklist of what photos to gather, see our guide on what photos you need for a wedding video.
Organize Your Selection
Create folders organized by the timeline of your day:
- **Getting Ready** — Bridal prep, groom prep, details
- **Ceremony** — Processional, vows, ring exchange, first kiss
- **Portraits** — Couple photos, family photos, bridal party
- **Reception** — Entrance, first dance, toasts, cake cutting
- **Celebration** — Dancing, candid moments, send-off
This organization will make the editing process much smoother, whether you're using AI or traditional software.
---
Step 3: Choose Your Music
Music is the soul of your wedding video. The right song can elevate simple photos into a cinematic experience, while the wrong one can make even the best footage feel flat.
Music Selection Tips
- **Match the mood** — A romantic ballad for tender moments, an upbeat track for celebration scenes.
- **Consider pacing** — Songs with a clear build-up work beautifully for wedding videos, starting gentle and crescendoing to a powerful finish.
- **Check licensing** — If you plan to share your video online (especially on YouTube or Instagram), make sure your music is properly licensed. Using copyrighted music can result in your video being muted or taken down.
- **Think about lyrics** — Instrumental music is versatile and timeless. If you choose a song with lyrics, make sure the words complement your story.
For a comprehensive guide to selecting the perfect soundtrack, check out our wedding video music selection guide.
AI Music Matching
When you use WeddingAI Video, the platform offers a curated library of licensed music tracks specifically chosen for wedding content. The AI can even analyze your photos' mood and suggest matching music — a feature that would take hours of manual searching to replicate.
---
Step 4: Edit Your Video
Option A: Using AI (Recommended for Beginners)
This is where AI-powered platforms truly shine. Here's the process using WeddingAI Video:
- **Upload your photos** — Drag and drop your selected images into the platform.
- **Choose a template/style** — Options include Cinematic, Romantic, Vintage, Modern, and more. The vintage restoration style is particularly popular for couples who want a timeless look.
- **Select your music** — Browse the library or upload your own track.
- **Add text** — Include your names, wedding date, venue name, or a meaningful quote.
- **Let AI process** — The algorithm analyzes your photos, detects faces, identifies key moments, and arranges everything with professional transitions and pacing.
- **Preview and adjust** — Watch the result, reorder photos if needed, adjust timing, and fine-tune.
- **Export** — Download in your preferred resolution (1080p or 4K).
**Total time: 5–15 minutes.** No experience required.
Option B: Using Mobile Apps
If you prefer more hands-on control:
- **Import your photos** into your chosen app (CapCut, InShot, iMovie).
- **Arrange on timeline** in your preferred order.
- **Set duration** for each photo (typically 3–4 seconds each).
- **Add transitions** — Simple crossfades work best for wedding videos.
- **Add music** — Import your chosen track and align it with the visuals.
- **Add text overlays** — Names, dates, and captions.
- **Add effects** — Subtle zoom, pan, or slow motion effects where appropriate.
- **Export and share.**
**Total time: 1–3 hours.**
Option C: Using Desktop Software
For maximum creative control:
- **Create a new project** with settings matching your output needs (1080p at 30fps is standard).
- **Import all media** — Photos, video clips, music, and any additional assets.
- **Build your timeline** — Arrange clips and photos in narrative order.
- **Add keyframes** — Create smooth pan and zoom animations on photos (the "Ken Burns effect").
- **Color grade** — Apply a consistent color treatment across all images.
- **Add transitions** — Crossfades, dissolves, and occasional creative transitions.
- **Mix audio** — Balance music levels, add ambient audio from video clips if applicable.
- **Add titles and credits** — Opening titles, lower thirds, and closing credits.
- **Review multiple times** — Check for timing, pacing, and emotional flow.
- **Export** — Render in high quality for your final delivery format.
**Total time: 8–20 hours.**
---
Step 5: Add Special Effects and Enhancements
Once your basic edit is complete, consider adding enhancements that elevate your video from good to unforgettable:
Slow Motion
Strategic use of slow motion can dramatically enhance emotional moments — the first kiss, the ring exchange, the first dance. AI tools can convert standard-speed footage into smooth slow motion using frame interpolation.
Vintage or Film Looks
Applying a vintage restoration effect gives your video a timeless, nostalgic quality. Think warm tones, subtle grain, and soft focus that evokes classic cinema.
Multilingual Subtitles
If you have international family members, adding multilingual captions ensures everyone can follow along and feel included.
Pet Cameos
Don't forget your furry family members! A pet wedding video that includes your beloved animals adds a heartwarming personal touch that guests absolutely love.
---
Step 6: Add Captions and Text
Well-designed text enhances your video without distracting from the visuals. Key moments for text include:
- **Opening** — Your names and wedding date
- **Venue identification** — Location name and city
- **Chapter markers** — "Getting Ready," "The Ceremony," "The Reception"
- **Quotes** — Meaningful lines from your vows or a favorite poem
- **Closing** — "Thank you" message or a dedication
For detailed guidance on font selection, positioning, and animation, see our wedding video caption design guide.
---
Step 7: Review and Refine
Before finalizing your video, watch it through several times with fresh eyes:
- **First viewing** — Watch the entire video without pausing. Does it flow? Does it tell a story?
- **Second viewing** — Check technical details. Are photos high quality? Are transitions smooth?
- **Third viewing** — Watch with sound. Does the music sync well? Are audio levels balanced?
- **Get feedback** — Share a draft with your partner, a trusted friend, or family member.
Common issues to watch for:
- Photos that appear blurry or pixelated
- Transitions that feel jarring or too frequent
- Music that doesn't match the emotional tone
- Text that's too small, too fast, or poorly positioned
- Pacing that feels too rushed or too slow
---
Step 8: Export and Share
Export Settings
- **Resolution** — 1080p (Full HD) is standard for sharing. 4K is ideal for archival purposes.
- **Format** — MP4 with H.264 encoding is universally compatible.
- **Aspect ratio** — 16:9 for standard viewing, 9:16 for Instagram/TikTok stories.
Where to Share
- **Social media** — Instagram, Facebook, TikTok (consider creating shortened versions for each platform)
- **Video platforms** — YouTube or Vimeo for easy sharing with a link
- **Direct sharing** — Email, messaging apps, or cloud storage links
- **Wedding website** — Embed your video on your wedding website for guests
- **Physical media** — USB drives or DVDs for grandparents and family members who prefer tangible keepsakes
---
Tips for a Professional-Looking Result
Do:
- Start and end with your strongest images
- Use high-resolution photos exclusively
- Maintain consistent color treatment throughout
- Match video pacing to music tempo
- Include a variety of shot types
- Keep it concise — shorter is almost always better
Don't:
- Overuse transitions or effects
- Include too many similar-looking photos
- Use low-quality or blurry images
- Choose music with distracting lyrics
- Make the video longer than the content warrants
- Forget to include candid and emotional moments
---
What Couples Are Saying
> *"I followed this exact process and created our wedding highlight video in one evening. My mother-in-law cried when she watched it — in the best way possible."* — **Emma & Ryan, married June 2025**
> *"We used the AI tool to make our video and then spent an hour tweaking it in iMovie. The combination was perfect — fast, easy, and personal."* — **Aisha & Marcus, married April 2025**
> *"The step-by-step approach made it so much less overwhelming. I had no idea where to start, but by the end, I had a video I'm genuinely proud of."* — **Yuki & Thomas, married January 2025**
---
Your Wedding Video Journey Starts Now
Making a wedding video doesn't have to be complicated, expensive, or time-consuming. Whether you choose the speed and simplicity of AI-powered editing or the hands-on control of traditional software, the most important thing is that you create something that preserves your precious memories.
**Start creating your wedding video with WeddingAI Video →**
Upload your photos, choose your style, and have a professional-quality wedding video ready to share in minutes. Your memories deserve to be more than photos in an album — they deserve to come alive.
*Need inspiration? Browse our case studies to see what's possible, or explore our complete usage guide for detailed instructions.*